Practice painting—St. Helena's olive

The resulting illustration of a St. Helena’s olive branch. © Katie Toepp 2020
Before making progress on a larger painting, I wanted to invest some time in practicing my technique. For the subject, I chose a branch of St. Helena’s olive, a species of tree that is currently extinct in the wild. I used existing photographs and illustrations as references.
In this post, you will find my step-by-step approach for painting a study of an olive branch. I have included observations and lessons from my experience as well as photos of my process.
For the ground, I have applied Golden’s Absorbent Ground. This absorbent ground is new to me, and I am still trying to figure out its pros and cons. I plan to write a more detailed review at a later date.
Approach
The technique I used in this painting is similar to a method used in watercolors and colored pencils: work from lighter to darker colors. Because there is essentially no blending of the paint (aside from optical mixing), colors must be pre-mixed on the palette prior to application.
Sketch your design
Sketch or transfer your design to your ground. This can be accomplished with transfer paper, direct drawing, or even a spolvero technique if you’re looking to use ancient methods.
Here, I have freehanded a light drawing of branches from my references. Directly drawing on your ground can be risky because graphite is not easy to erase from an absorbent ground. Additionally, graphite may be visible through very transparent layers of paint. I lifted some of the graphite from the panel by rolling my kneadable eraser across the surface, but I later found out that I did not lift as much as I would have liked. You will see in the final product that there is still some graphite visible.

I use a fine mechanical pencil to freehand my drawing. Then, I roll a kneaded eraser across the surface to gently lift excess graphite without smudging the drawing. © Katie Toepp 2020
Paint in your lightest color
Because I am painting foliage, I used Cadmium Yellow Light (the closest color I have to a true lemon yellow). Yellow will serve as a bright, luminous base color onto which I can layer my green highlights, mid-tones, and shadows.
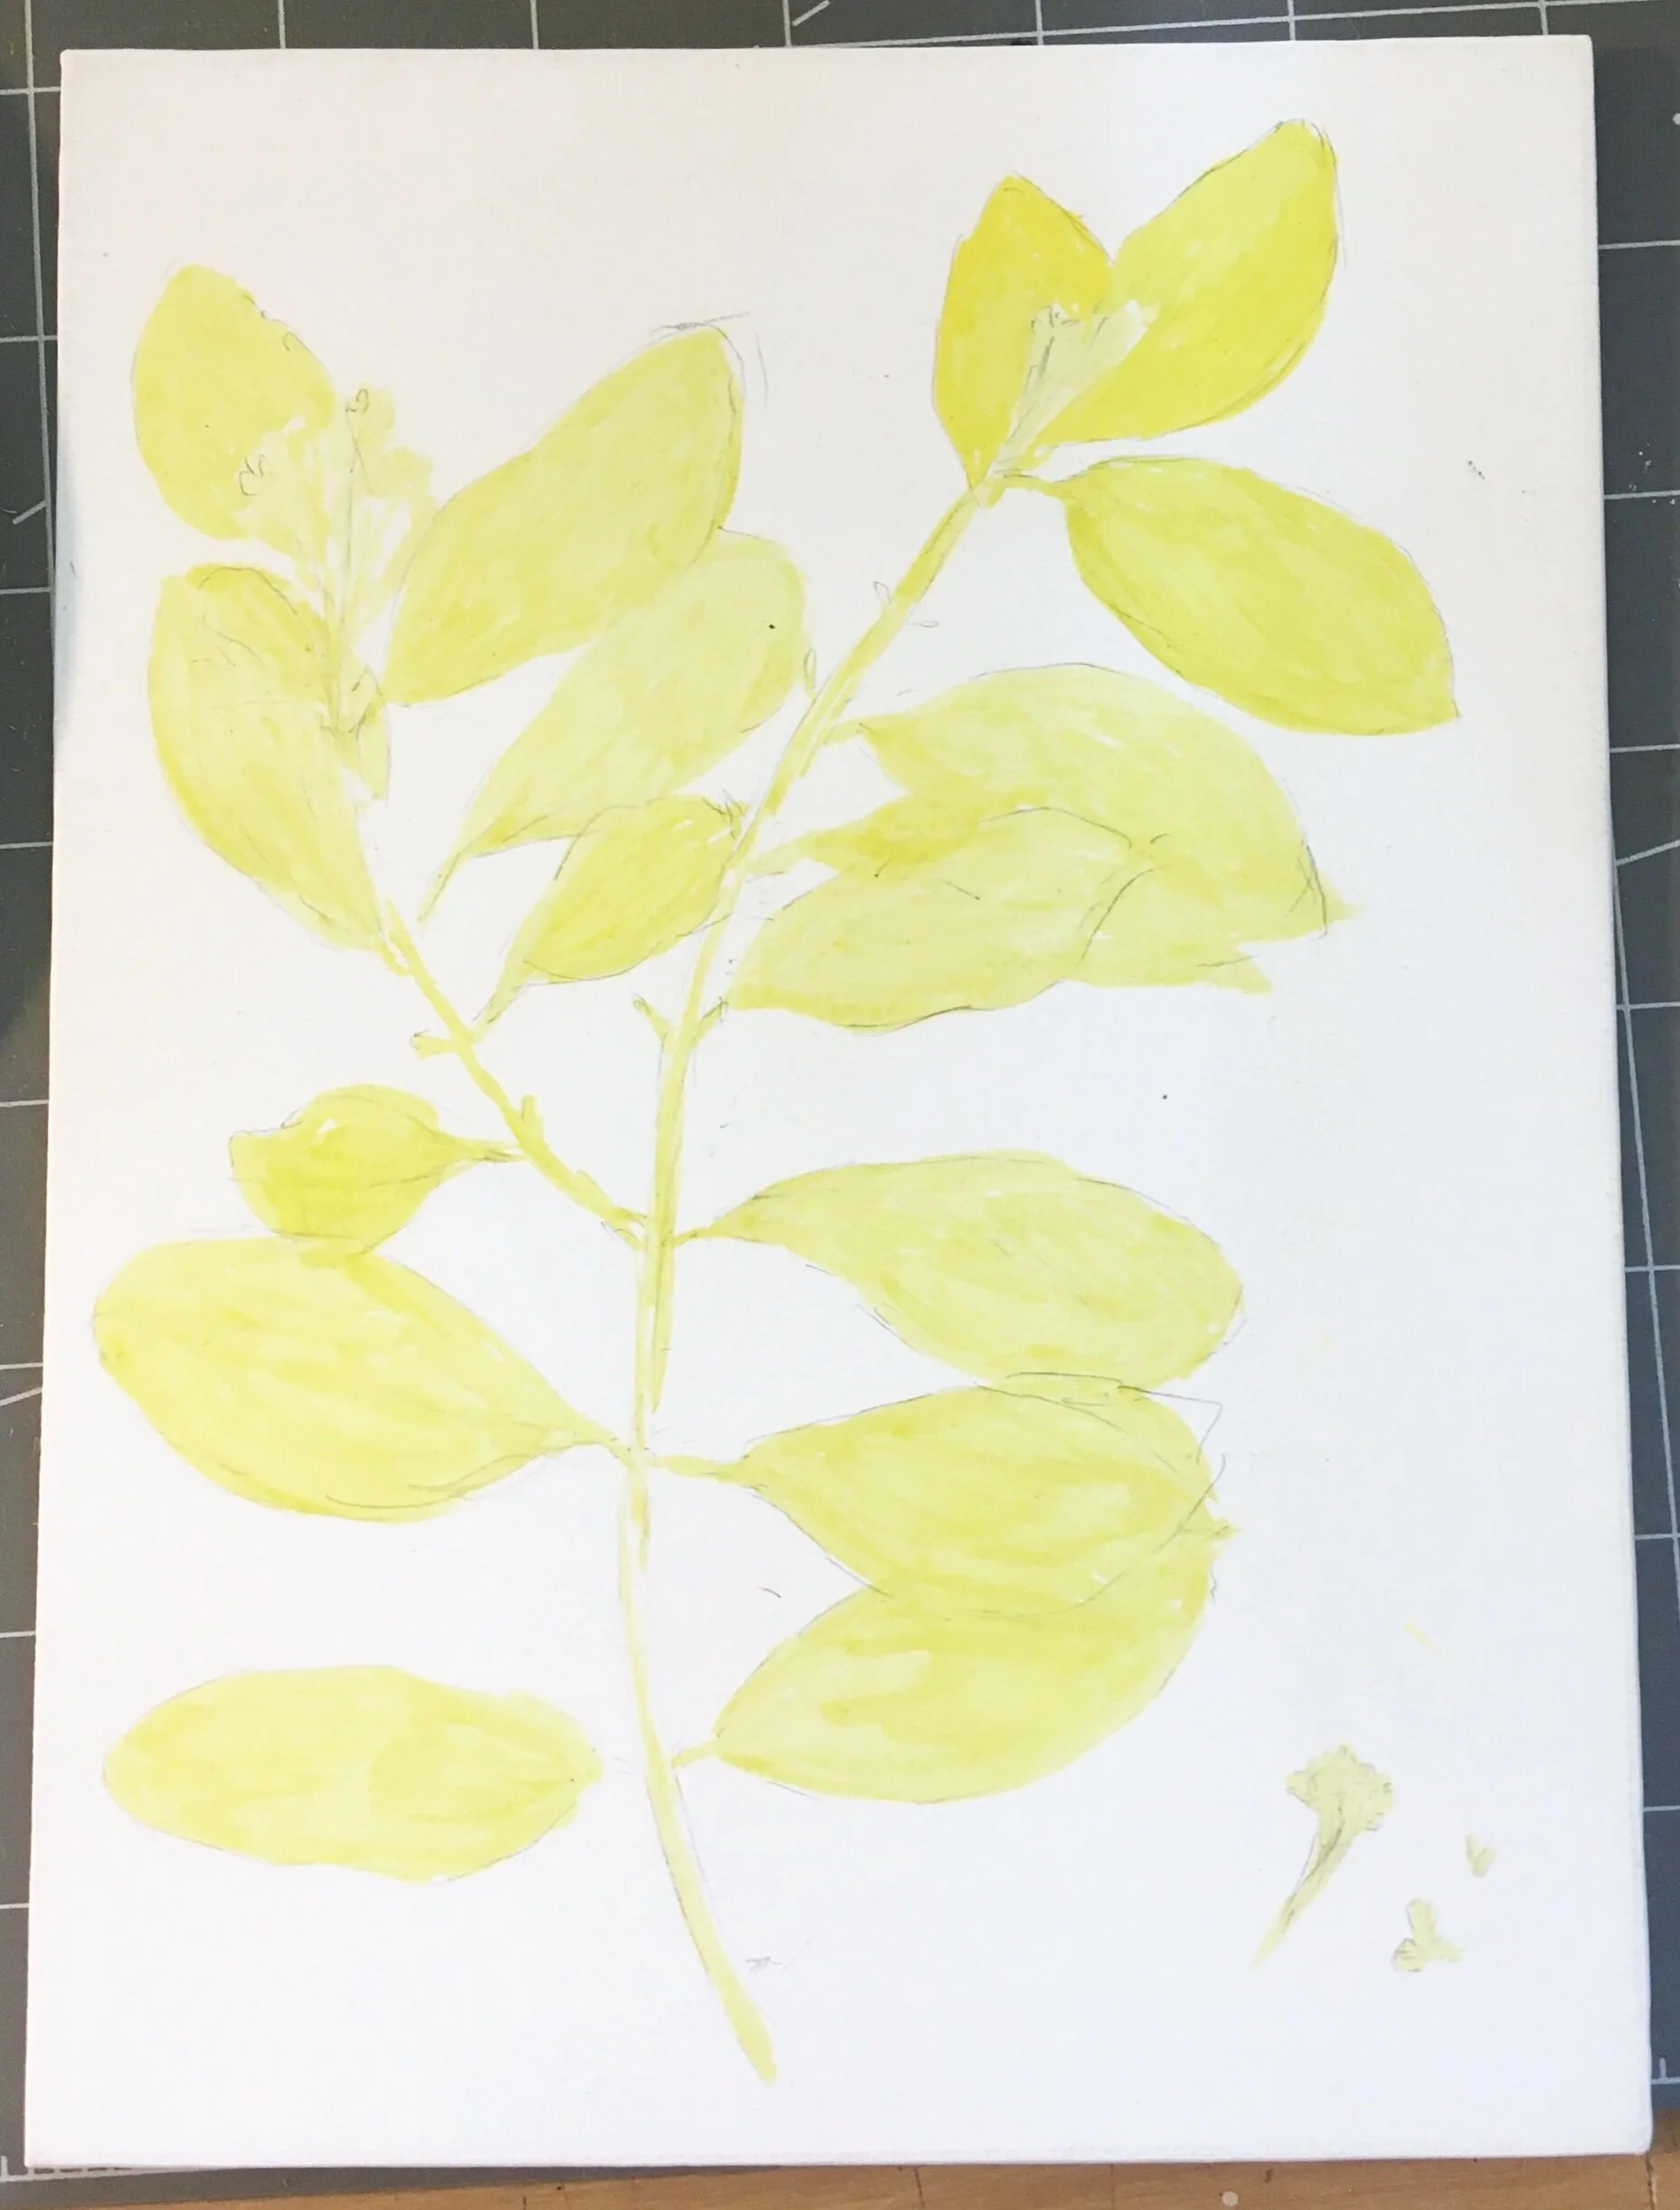
The first layer of paint is the lightest. © Katie Toepp 2020
Technical Note
In this process, I have learned that it is important to paint with delicacy and precision from the start. It may seem unnecessary, and it will be tedious, but it is the best way to ensure you have a polished finished product.
Apply colors, light to dark
For the next stage, I mixed Cadmium Yellow Light and Chromium Oxide Green on my palette. Because Chromium Oxide Green such a strong (and opaque) pigment, I used much more yellow than I did green.
As in the previous layer, I was not very careful in my application. I rushed the process, thinking that the subsequent layers would mask any imperfections.

The first and second layers began pretty rough. Over time, my drybrush technique has become delicate and more refined. I still have a lot of practicing to do. © Katie Toepp 2020
Finish mid-tones
Using the same mixture of yellow and green as before, I finished the mid-tones. In areas that would have more have more shadow, I applied more layers of this glaze. As I worked through this layer, I began to feel more comfortable with the drybrush technique. My brushstrokes became more even and controlled.
Still, I was not satisfied with the texture so far. The “fuzzy” or “hairy” appearance of the painted surface is a result of the hatching drybrush technique. The next layers would cover some of the inconsistencies, but I have learned that it is important to have a delicate hand from the beginning.

The mid-tones are applied to the painting. Areas that are darker—or appear in shadow—have more layers. © Katie Toepp 2020

The leaves on the left side of the painting are not glazed, but the leaves on the right side are glazed. © Katie Toepp 2020
Final layers
In the next layers, I used combinations of Chromium Oxide Green and Sap Green. As I slowly worked the greens darker and darker, I used proportionally more binder in my paint. This created subtle veils of glaze that slowly built up depth.
Before my final glaze, I used my translucent white, Zinc White, to add the leaves’ buds and details.
For the final glaze, I used very little Sap Green and Chromium Oxide Green to create a mixture that I applied over the foliage to unify all the elements. To the right, I have the final glaze on half the painting. You can see how a single, subtle glaze can unify a painting.
Technical Note
As a rule of thumb, the dried painting's finish can tell you about your binder-to-pigment ratio. I like to keep an eye on the sheen of my painting as I work. If you can no longer see the satin finish of your dried painting, you might not have enough binder in your paint. This generality can vary depending on your tempera recipe choice and any additives or pigments you may use.
Final Painting

The final illustration of a Saint Helena’s olive branch. © Katie Toepp 2020
Reflections
I am satisfied with how the final product turned out for one of my first realistic illustrations in egg tempera. It was important for me to do this work to practice my technique, and I could feel the drybrush approach becoming part of my muscle memory.
For my next practice paintings, I plan to do more floral or drapery work.
If you like what you see in this post, consider supporting my work by purchasing from my Etsy store, The Eighth Dimension.
Prints now available
Like what you see? Support my work by purchasing a print through Etsy.